Table of Contents
Mouthwatering Juicy Chicken Breast Recipes to Try Today
Thank you for reading this post, don't forget to subscribe!There’s something incredibly satisfying about creating a meal that’s both simple and delicious. For me, boneless, skinless chicken breasts have always been a go-to ingredient. They’re versatile, easy to prepare, and can be transformed into something truly special with the right method.
Over the years, I’ve perfected a 5-step process that ensures tender, flavorful results every time. It’s all about the details—brining to lock in moisture, brushing with oil, rubbing with seasonings, roasting at the right heat, and letting it rest. This method, which I call “B.B.R.R.R.,” has never let me down.

Whether you’re cooking for a weeknight dinner or a special occasion, these recipes are designed to impress. From perfectly seasoned dishes to creative marinades, there’s something here for everyone. Plus, I’ll share tips on reheating leftovers and pairing your meal with the perfect sides.
Ready to elevate your cooking game? Let’s dive into these mouthwatering ideas that will have everyone asking for seconds.
Key Takeaways
- Boneless, skinless chicken breasts are versatile and easy to prepare.
- The 5-step method (Brine, Brush, Rub, Roast, Rest) ensures tender results.
- Proper seasoning and even thickness are key to locking in flavor.
- Explore different cooking methods and marinades for variety.
- Video tutorials and practical tips will guide you through the process.
Elevate Your Dinners with Juicy Chicken Breast Recipes
With the right techniques, even a basic meal can feel like a gourmet experience. These recipes are designed to bring vibrant flavors and a tender bite to your table. Whether you’re cooking for family or friends, these ideas will make every dinner special.
One of the best parts? You can customize each dish to suit your taste. Add your favorite seasonings or experiment with different spice blends. A sprinkle of paprika or a dash of garlic powder can completely transform the flavor profile.
Proper preparation is key to success. Start by ensuring your meat is of even thickness. This helps it cook evenly and prevents dryness. A little oil and salt go a long way in preventing sticking and enhancing flavor.
Here are some practical tips to keep in mind:
- Use an instant-read thermometer to check for doneness. The ideal internal temperature is 165°F.
- Adjust cooking time based on thickness. Thicker cuts may need a few extra minutes.
- Cover the pan with a lid during skillet cooking to lock in moisture.
These recipes are perfect for beginners and seasoned cooks alike. The step-by-step method ensures consistent results every time. Plus, you’ll learn kitchen hacks that make cooking easier and more enjoyable.
Stay tuned for the next sections, where we’ll dive into brining, oven vs. skillet methods, and creative serving ideas. Get ready to take your dinners to the next level!
The Art of Brining and Prepping Your Chicken
The secret to tender, flavorful meat lies in the science of brining. This simple technique ensures your dish stays moist and packed with flavor, even if you accidentally overcook it. Let’s dive into how you can master this method and prep your ingredients for the best results.
The Science Behind a Perfect Brine
Brining works by allowing salt to dissolve into the meat’s muscle fibers. This process helps the fibers retain moisture during cooking. A quick brine, made with lukewarm water, kosher salt, and ice, is all you need to get started.
Here’s a simple recipe: Mix 4 tablespoons of salt and 2 tablespoons of brown sugar in a quart of water. Add optional flavorings like garlic, lemon slices, or bay leaves. Submerge your meat for 1-2 hours in the refrigerator for maximum tenderness.
Prepping for Even Thickness and Flavor
After brining, rinse and pat your meat dry. This step ensures your seasonings stick well. To achieve even cooking, use a mallet or rolling pin to pound the meat to a uniform thickness. This method prevents dryness and ensures every bite is tender.
Here are some tips to keep in mind:
- Use an instant-read thermometer to check for doneness. The ideal internal temperature is 165°F.
- Adjust cooking time based on thickness. Thicker cuts may need a few extra minutes.
- Cover the pan with a lid during skillet cooking to lock in moisture.
| Brining Ingredient | Quantity | Purpose |
|---|---|---|
| Kosher Salt | 4 tablespoons | Enhances moisture retention |
| Brown Sugar | 2 tablespoons | Adds subtle sweetness |
| Water | 1 quart | Base for the brine solution |
By following these steps, you’ll create a dish that’s flavorful, tender, and perfectly cooked every time. Whether you’re a beginner or a seasoned cook, these techniques will elevate your meals to the next level.
Mastering Both Oven and Skillet Cooking Methods
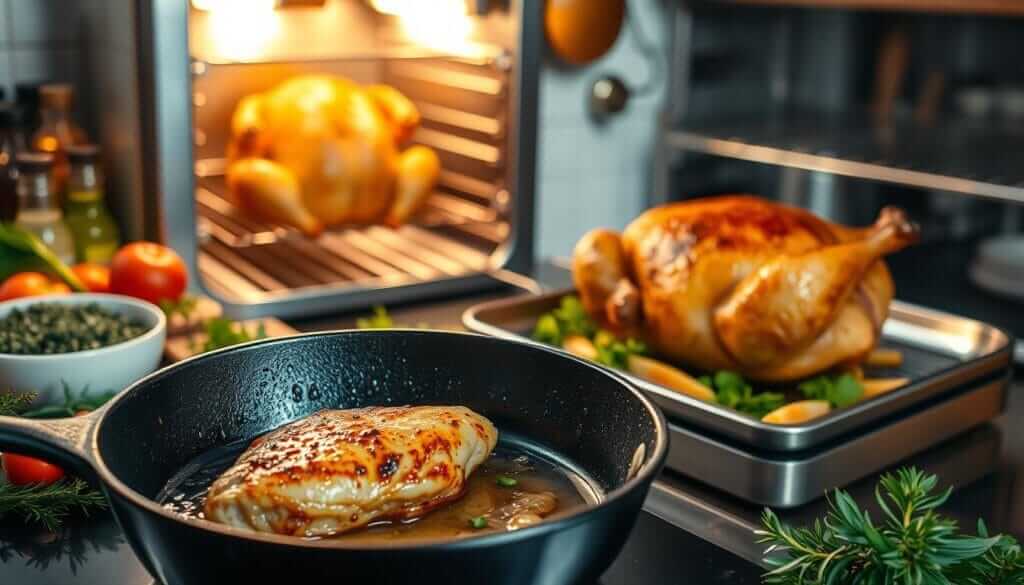
Mastering oven and skillet techniques ensures flavorful results every time. Each method has its unique benefits, and choosing the right one depends on your desired texture and flavor. Let’s explore how to achieve the best outcomes with both approaches.
Oven Baking for a Crispy Exterior
Baking in the oven is perfect for achieving a crispy, golden crust. Preheat your oven to 450°F for optimal results. This high heat locks in moisture while creating a delicious exterior.
Place your seasoned meat on a baking sheet lined with foil for easy cleanup. Bake for 15-18 minutes, depending on thickness. Use an instant-read thermometer to check for an internal temperature of 165°F.
For extra browning, finish under the broiler for 1-2 minutes. This method ensures a crispy top while keeping the inside tender and juicy.

Skillet Secrets for Ultimate Juiciness
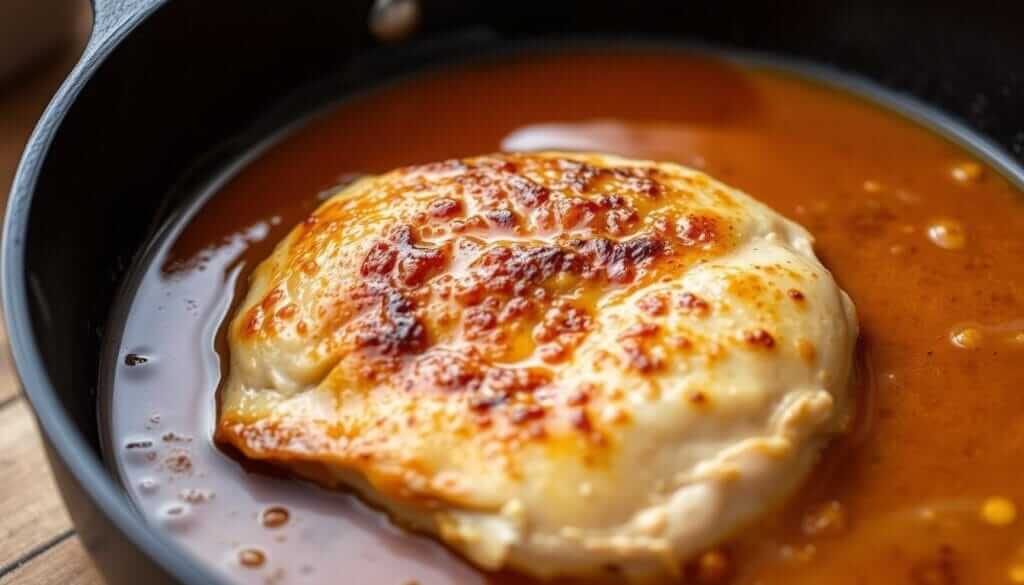
Skillet cooking is ideal for locking in moisture and creating a flavorful sear. Start by heating a tablespoon of oil in a pan over medium-high heat. Once hot, add your seasoned meat and sear for 2-3 minutes per side.
Lower the heat, add a splash of broth or water, and cover the pan with a lid. This traps steam, keeping the meat tender. Cook for an additional 8-10 minutes, checking the internal temperature with a thermometer.
This method is perfect for quick, juicy results with minimal effort.
| Method | Temperature | Cooking Time | Key Benefit |
|---|---|---|---|
| Oven Baking | 450°F | 15-18 minutes | Crispy exterior |
| Skillet Cooking | Medium-high heat | 10-12 minutes | Juicy interior |
Both methods have their strengths. Oven baking is great for a hands-off approach, while skillet cooking offers quick, flavorful results. Experiment with both to find your favorite way to cook chicken breasts.
Unlocking Flavor: Seasonings and Marinades
Flavor is the heart of every great dish, and mastering seasonings and marinades can transform a simple meal into something extraordinary. My approach focuses on building a unique spice blend that accentuates the natural taste of the ingredient while adding depth and character.
Creating Your Signature Spice Blend
I start with a base of smoked paprika and garlic powder, which add warmth and richness. From there, I customize with chili powder, cumin, or even Cajun seasoning, depending on the mood. The key is balance—too much of one spice can overpower the dish.
For example, my go-to blend includes 1 tablespoon smoked paprika, 1 teaspoon garlic powder, and a pinch of cayenne for a subtle kick. This combination works well for both oven baking and skillet cooking, creating a flavorful crust every time.
Customizing with Garlic, Paprika, and More
Pantry staples like garlic powder and paprika are versatile and can be mixed or swapped to create your own signature flavors. If you’re using pre-brined meat, reduce the salt in your blend to avoid over-seasoning.
A light brushing of oil helps the spices adhere, ensuring an even coating. This step is crucial for achieving that perfect crust, whether you’re roasting or pan-searing.
Here are some tips to get started:
- Experiment with marination times—15 minutes to 24 hours can yield different results.
- Adjust seasonings based on cooking methods. For example, a heavier spice blend works well for grilling.
- Pair your spice blend with complementary sides, like roasted vegetables or a fresh salad.
Seasonings and marinades are more than just flavor enhancers—they interact with cooking methods to lock in moisture and tenderness. Whether you’re a beginner or a seasoned cook, these tips will help you create dishes that are bursting with flavor.
Tips for Achieving the Perfect Cooking Temperature and Time
Cooking chicken to perfection is all about precision and timing. One of the most critical factors is hitting the ideal internal temperature of 165°F, as recommended by the FDA. This ensures safety while keeping the meat tender and flavorful.
I’ve learned the hard way that overcooking can ruin a dish. Using an instant-read thermometer has been a game-changer for me. Insert it into the thickest part of the meat, avoiding bones, to get an accurate reading. This simple tool takes the guesswork out of cooking.
Adjusting cooking time based on thickness is equally important. Thicker cuts may need a few extra minutes, while thinner ones cook faster. I always aim for even thickness by pounding the meat before cooking. This ensures consistent results every time.
Resting the chicken after cooking is another step I swear by. Letting it sit for 5-10 minutes allows the juices to redistribute, making every bite moist and delicious. Skipping this step can lead to dry, disappointing results.
Here are my tried-and-tested tips for oven and skillet methods:
- For oven baking, preheat to 450°F and cook for 15-18 minutes, checking the temperature with a thermometer.
- For skillet cooking, sear on medium-high heat for 2-3 minutes per side, then lower the heat and cover the pan to lock in moisture.
Small details, like brushing with oil and seasoning generously, can make a big difference. I’ve found that a sprinkle of garlic powder adds depth to the flavor without overpowering the dish.
By focusing on temperature, timing, and prep, you can transform your cooking. These tips have helped me create dishes that are both safe and delicious, every single time.
Quick Sides and Creative Serving Ideas
Pairing your main dish with the right sides can elevate the entire meal. A well-balanced plate not only looks inviting but also complements the flavors of your dish. Here are some quick and healthy ideas to make your dinners shine.
Easy Side Dish Pairings for a Balanced Meal
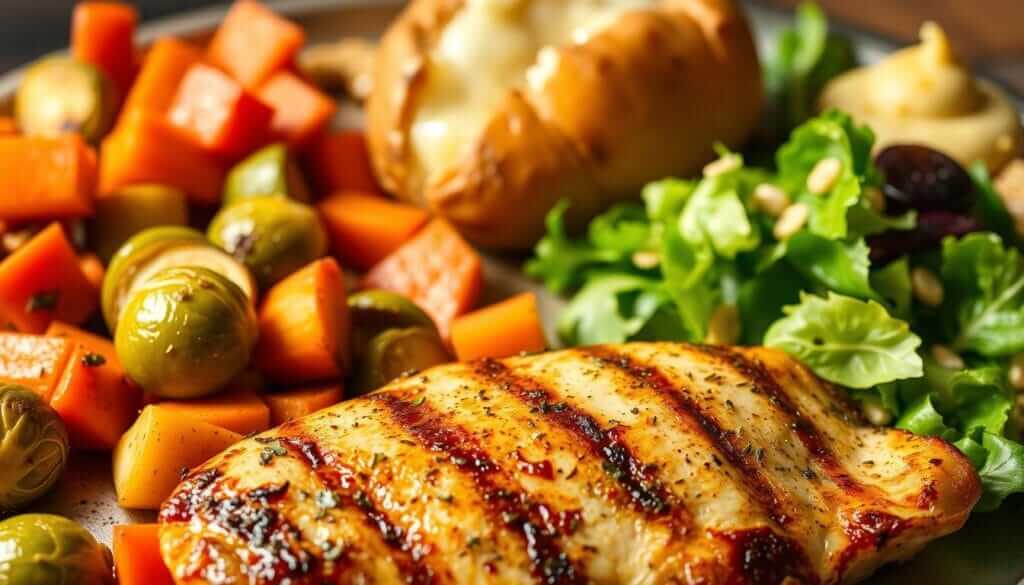
When I’m short on time, I love pairing my meals with roasted vegetables. They’re simple to prepare and cook in the same oven as the main dish. Toss them with a tablespoon of olive oil, sprinkle with your favorite spice blend, and roast for 20-25 minutes.
Mashed cauliflower is another go-to. It’s creamy, low-carb, and ready in under 30 minutes. Add a pinch of garlic powder for extra flavor. For a refreshing option, try a cucumber salad with a light vinaigrette.

- Roasted Brussels sprouts with a drizzle of balsamic glaze.
- Sweet potato wedges seasoned with smoked paprika.
- A fresh green salad topped with sliced almonds and a citrus dressing.
For a creative twist, serve your dish atop mixed greens or alongside a crunchy coleslaw. A sprinkle of fresh herbs or a light drizzle of extra virgin olive oil can add a finishing touch that makes all the difference.
These sides are perfect for weeknight dinners, meal prep, or even lunchboxes. They’re quick, healthy, and versatile enough to pair with any main dish. Experiment with flavors and presentation to make every meal special.
Storing and Reheating: Keeping Chicken Tender
Keeping your meals fresh and flavorful even after storage is a skill every home cook should master. Whether you’re meal prepping for the week or saving leftovers, proper storage and reheating techniques can make all the difference. Here’s how I ensure my dishes stay tender and delicious.
Best Practices for Meal Prep
When storing chicken breast, I always use airtight containers to lock in moisture. This prevents the meat from drying out and keeps it fresh for up to 3-4 days in the refrigerator. For longer storage, freezing is a great option. Simply wrap the chicken tightly in plastic wrap or aluminum foil and place it in a freezer-safe bag. It stays good for up to 3 months.
To maintain even thickness, I flatten the chicken before cooking. This ensures it reheats evenly later. A light brush of oil before storage also helps retain moisture.
Reheating Without Losing Freshness
Reheating can be tricky, but with the right method, you can preserve the chicken’s tenderness. My go-to is the oven. Preheat it to 350°F, place the chicken in a baking dish, and cover it with foil. Heat for about 10-15 minutes, or until the internal temperature reaches 165°F. This method keeps the meat moist and flavorful.
For quicker reheating, I use an air fryer. Set it to 350°F and heat the chicken for 5-7 minutes. This gives it a slight crisp while keeping the inside tender. If you’re using a microwave, add a tablespoon of water or broth to the dish and cover it with a microwave-safe lid. Heat in 1-minute intervals, checking the temperature each time.
| Reheating Method | Temperature | Time | Best For |
|---|---|---|---|
| Oven | 350°F | 10-15 minutes | Even heating |
| Air Fryer | 350°F | 5-7 minutes | Quick reheating |
| Microwave | High | 1-minute intervals | Speed |
Leftover chicken is versatile. I often repurpose it into salads, sandwiches, or casseroles. Just remember to avoid overcooking during reheating. A controlled heat source and a thermometer are your best tools for success.
These tips have been a game-changer for my meal prep routine. They ensure every bite is as good as the first, whether it’s fresh or reheated.
Health and Nutritional Perks of Chicken Breast
Incorporating chicken breast into your meals offers a wealth of health benefits that go beyond just taste. It’s a lean protein powerhouse that fits seamlessly into a balanced diet. Whether you’re aiming to build muscle, maintain a healthy weight, or simply enjoy a nutritious meal, chicken breast is a versatile and reliable choice.
Protein Power and Low-Calorie Benefits
Chicken breast is packed with protein, providing about 31 grams per 100 grams serving. This makes it an excellent option for muscle repair and growth. It’s also low in calories, with just 165 calories per 100 grams, making it a favorite for those watching their calorie intake.
Here’s why chicken breast is a go-to for health-conscious individuals:
- It’s low in fat, with only 3.6 grams per 100 grams, making it a heart-healthy choice.
- It’s rich in essential vitamins like niacin, which supports metabolism and energy production.
- It’s easy to pair with healthy sides like roasted vegetables or a fresh salad.
I’ve found that minor adjustments in seasoning can boost both flavor and nutrition. A sprinkle of garlic powder or a dash of paprika adds depth without extra calories. This makes it a perfect fit for a healthy lifestyle or meal plan.
| Nutrient | Amount per 100g | Benefits |
|---|---|---|
| Protein | 31g | Supports muscle growth and repair |
| Calories | 165 kcal | Low-calorie option for weight management |
| Total Fat | 3.6g | Heart-healthy choice |
Chicken breast is not just a meal; it’s a way to fuel your body with the nutrients it needs. Whether you’re meal prepping or cooking a quick dinner, it’s a smart and satisfying choice.
Conclusion
Cooking with chicken breast can be simple yet incredibly rewarding when you follow the right steps. From brining to seasoning, each technique plays a vital role in achieving tender, flavorful results. A little extra effort, like using a quick brine or brushing with oil, can make a world of difference.
Experiment with the recipes and methods shared here. Whether you’re baking, pan-searing, or grilling, these tips ensure consistent success. Don’t forget to let your chicken rest for a few minutes after cooking—it’s a small step that locks in moisture and enhances every bite.
I encourage you to try these ideas and make them your own. Share your kitchen successes and let me know how it goes. With these failproof strategies, every meal can become a masterpiece. Enjoy the process and savor the delicious outcomes!
For more tips on brining and grilling, check out this brine recipe to elevate your cooking even further.
FAQ
How do I ensure my chicken stays tender and flavorful?
Brining is my go-to method. It locks in moisture and enhances taste. I also pound the meat to an even thickness for consistent cooking.
What’s the best way to cook chicken for a crispy exterior?
I love using the oven. Preheat it to 400°F, season well, and bake until the internal temperature reaches 165°F. It’s foolproof!
Can I cook chicken in a skillet and still keep it juicy?
Absolutely! I heat oil in a pan over medium heat, sear each side for 5-6 minutes, and finish with a lid to trap steam. It works every time.
What seasonings do you recommend for maximum flavor?
I mix garlic powder, paprika, salt, and pepper for a simple yet tasty blend. Feel free to experiment with your favorite spices!
How do I know when my chicken is fully cooked?
I always use a meat thermometer. The safe internal temperature is 165°F. It’s the easiest way to avoid undercooking or drying it out.
What sides pair well with chicken dishes?
I enjoy a fresh salad or roasted veggies. They’re quick, healthy, and complement the main dish perfectly.
How should I store and reheat leftovers?
I store mine in an airtight container in the fridge. To reheat, I cover it with foil and warm it in the oven to keep it tender.
Are there health benefits to eating chicken breast?
Yes! It’s packed with protein and low in calories, making it a great choice for a balanced diet. I feel good about including it in my meals.
There are no reviews yet. Be the first one to write one.

