There’s something truly special about biting into a piece of freshly baked Indian Naan. Its soft, fluffy texture and the subtle char from the tandoor oven create a flavor that’s hard to forget. For me, the journey of mastering this traditional bread began with a simple curiosity about its origins and a desire to bring that authentic taste into my home kitchen.
Thank you for reading this post, don't forget to subscribe!Naan, a staple in many Indian restaurants, has a history that dates back centuries. Its origins trace back to the Indian subcontinent, where it was first mentioned in Indo-Persian poetry around 1300 AD. Traditionally baked in a tandoor oven, naan is more than just bread—it’s an experience. The dough, made from flour, yeast, yogurt, and a touch of salt, rises to perfection before being shaped into small balls and cooked to golden perfection.
In this guide, I’ll walk you through the traditional techniques and modern adaptations that make naan accessible to anyone, even without a tandoor. From the initial mixing of the dough to the final brushing of melted butter, each step is a testament to the art of homemade simplicity. Whether you’re a seasoned baker or a culinary newbie, this journey into the world of naan promises to be as rewarding as it is delicious.
By the end of this article, you’ll not only understand the science behind making the perfect dough but also how to infuse your naan with personalized touches that make it truly special. So, let’s dive in and uncover the secrets to creating this tandoor-baked delight in the comfort of your own home.

Key Takeaways
- Naan is a traditional bread with origins in the Indian subcontinent, dating back to 1300 AD.
- The dough typically includes flour, yeast, yogurt, and salt, requiring time to rise for the perfect texture.
- Naan can be made at home using a skillet or oven, offering a delicious alternative to store-bought options.
- Brushing with butter or ghee enhances flavor and moisture, giving naan its signature taste.
- Naan is versatile and can be paired with curries, grilled meats, or even used as a pizza base.
Introduction to Tandoor-Baked Naan
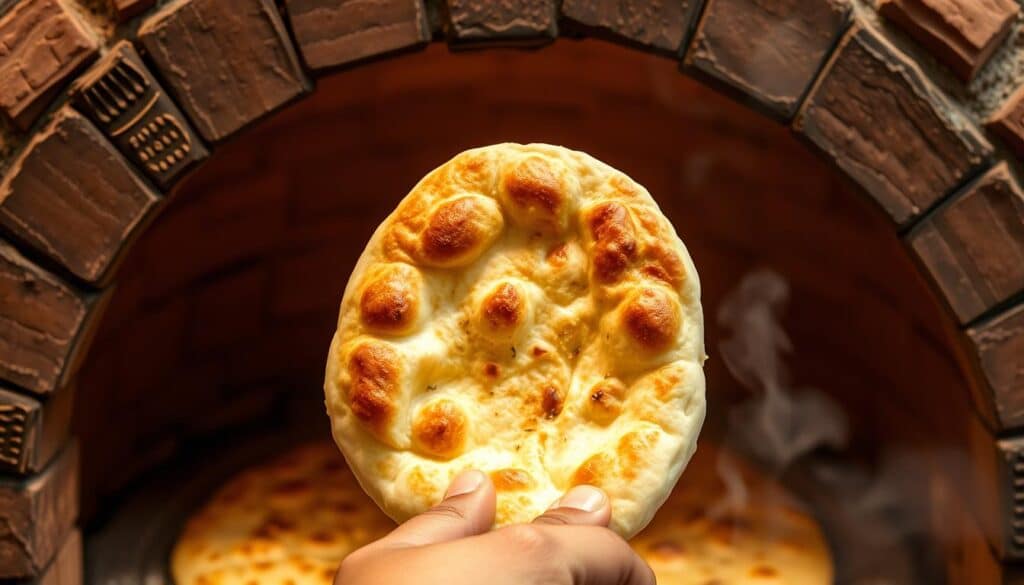
Naan holds a cherished place in the hearts of many, and for good reason. This traditional bread, with its soft texture and subtle char, is more than just a meal staple—it’s a cultural treasure. Originating in the Indian subcontinent, naan has a rich history that spans centuries, first mentioned in Indo-Persian poetry around 1300 AD. Traditionally baked in a tandoor oven, naan is a leavened flatbread made from flour, yeast, yogurt, and a touch of salt. The dough rises to perfection before being shaped into small balls and cooked to golden perfection.
What Makes Naan Special?
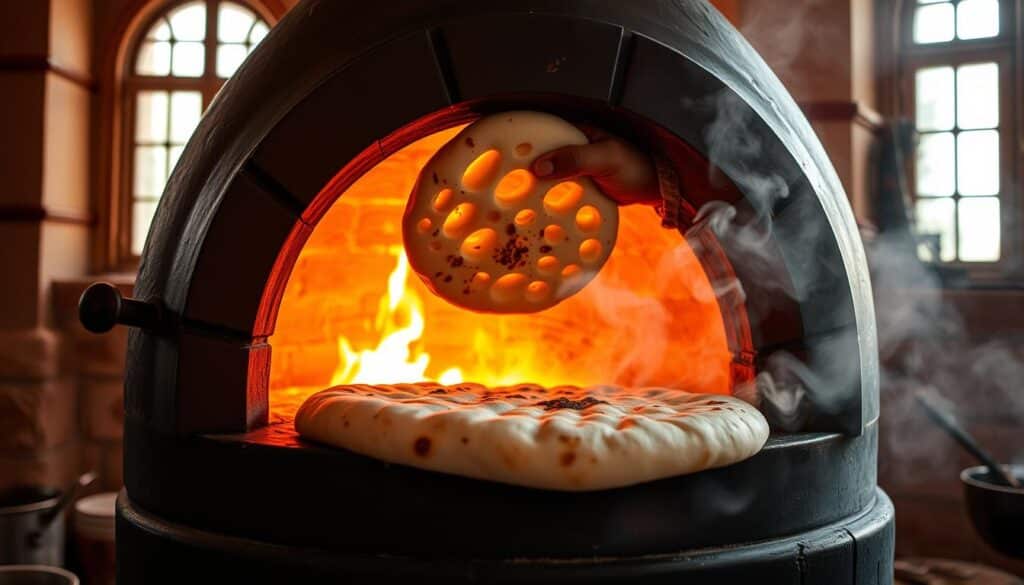
What truly sets naan apart is its unique texture and flavor, derived from the high heat of the tandoor oven. The process of baking naan in a tandoor results in one side being evenly cooked due to the heat from the walls, while the other side may experience browning and slight charring from the direct heat at the bottom. This traditional method gives naan its distinctive taste and texture.
The History and Cultural Significance
Naan became popular among the Mughal nobility in the 1500s, particularly served with kebabs and keema (minced-beef curry). It was primarily available to royalty due to the lengthy process of making leavened bread. The word “naan” was introduced into the English language around 1799 by historian William Tooke. Today, naan is a staple in many restaurants and homes, often paired with rich, aromatic dishes like curries and malai kofta.
| Characteristic | Traditional Naan | Modern Naan |
|---|---|---|
| Ingredients | Flour, yeast, yogurt, salt | May include additional ingredients like garlic, herbs, or spices |
| Cooking Method | Tandoor oven | Skillet, home oven, or air fryer |
| Texture | Soft and slightly charred | Varies; can be crispy or soft |
| Preparation Time | Longer, includes rising time | Quick, especially with shortcuts |
Naan is a versatile bread that complements a variety of dishes, from curries to grilled meats. Its aroma and taste evoke a sense of warmth and tradition, making it a beloved choice for many. Whether you’re a seasoned baker or a culinary newbie, naan promises to be a rewarding addition to your meals.

Indian Naan: A leavened flatbread, cooked in a tandoor oven.
Creating authentic naan begins with the right ingredients. Each component plays a vital role in achieving that perfect texture and flavor.
Exploring Traditional Ingredients
The foundation of great naan lies in its ingredients. All-purpose flour provides structure, while active dry yeast ensures the dough rises. Salt enhances flavor, and a touch of sugar feeds the yeast. Oil or ghee adds moisture, and yogurt contributes tanginess and tenderness.
| Ingredient | Traditional | Modern |
|---|---|---|
| Flour | All-purpose | Whole wheat or gluten-free |
| Leavening | Yeast or natural starter | Baking powder/baking soda |
| Fat | Ghee or oil | Butter or other oils |
| Additional | Yogurt or buttermilk | Herbs, spices, or seeds |
These ingredients, when combined correctly, create a soft and slightly charred texture. The dough needs time to rest, allowing the yeast to ferment, which is crucial for the airy interior. Even small changes in ingredients can affect the final result, so using quality components is essential.

Crafting the Perfect Naan Dough and Preparing Ingredients
Creating the ideal naan dough is all about balance and patience. It’s a process that requires attention to detail but yields incredibly rewarding results. Let’s break it down step by step.
Essential Tools and Ingredients
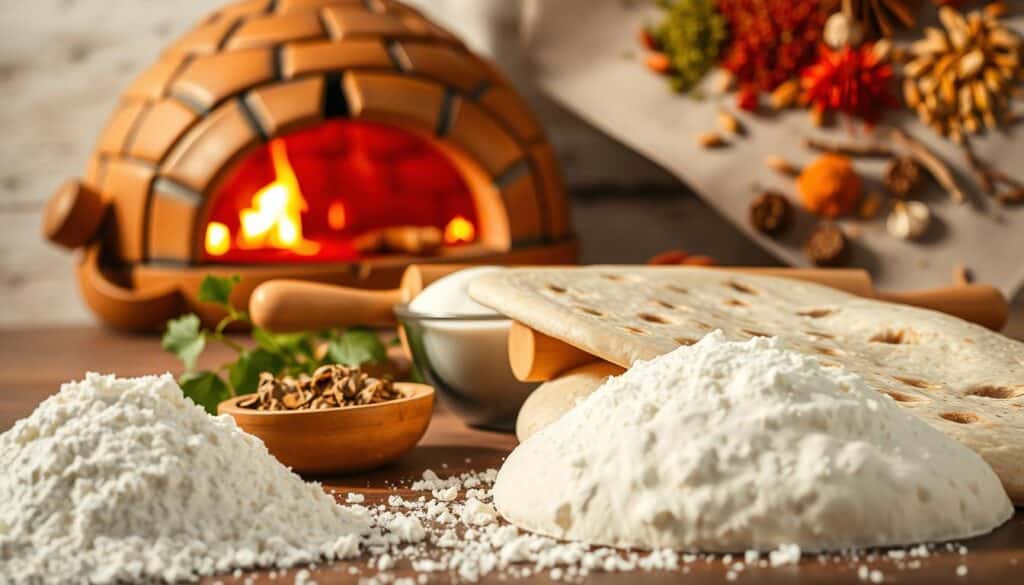
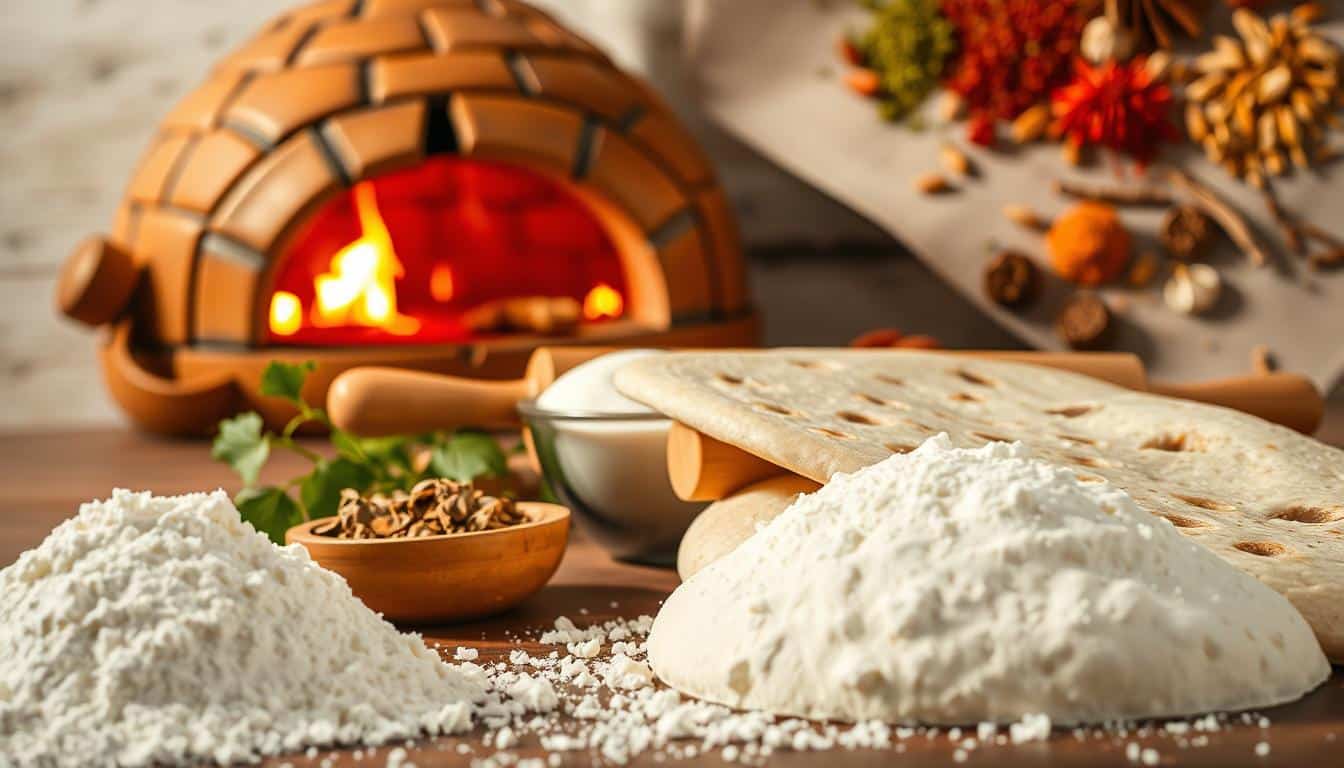
To get started, you’ll need a few simple tools and ingredients. Gather a large mixing bowl, a clean surface for kneading, and a rolling area. The ingredients include all-purpose flour, active dry yeast, a pinch of salt, a touch of sugar, and some warm water or milk to bring it all together.
Step-by-Step Dough Preparation Tips
Begin by activating the yeast in warm water with a teaspoon of sugar. Once frothy, mix in the flour, salt, and a bit of oil. Knead the dough on a well-floured surface until it becomes smooth and elastic. Let it rest in a warm place until it doubles in size—this step is crucial for the right texture.
Common Mistakes and How to Avoid Them
A common pitfall is adding too much flour, which can make the dough dense. Keep the surface lightly floured and avoid over-kneading to maintain tenderness. After the dough has risen, divide it into equal portions for uniform naan sizes. Each piece should be rolled out thinly before cooking.
| Aspect | Traditional Approach | Modern Method |
|---|---|---|
| Ingredients | Flour, yeast, yogurt, salt | Optional additions like herbs or spices |
| Cooking | Tandoor oven for charred texture | Skillet or home oven for convenience |
| Prep Time | Longer, including rise time | Quick with possible shortcuts |
For more baking tips, check out our banana bread recipe, which also relies on precise dough preparation. Remember, practice makes perfect, so don’t be discouraged if your first batch isn’t flawless. Happy baking!
Baking Naan at Home: Techniques and Cooking Tips
Recreating the magic of naan at home is easier than you might think. With a few simple techniques, you can achieve that authentic tandoor flavor without needing a clay oven.
Using Your Home Oven to Emulate Tandoor Heat
The key to replicating tandoor heat lies in your oven settings. Preheat your oven to its highest temperature, typically between 450°F and 500°F. Placing a baking stone or pizza stone inside helps mimic the radiant heat of a tandoor. Once the oven is preheated, carefully place your rolled-out dough on the stone. Cook for 2-3 minutes on each side, or until golden brown. For an extra touch, use the broil setting to get those characteristic blisters on the surface.
Enhancing Flavor with Butter and Ghee
Immediately after baking, brush your naan with melted butter or ghee. This step not only enhances the flavor but also gives it a glossy finish. I’ve found that using a combination of both butter and ghee adds a rich, savory taste that complements any dish. Experiment with different ratios to find your perfect balance.
| Technique | Home Oven Method | Result |
|---|---|---|
| Preheating | 450°F – 500°F with a baking stone | Mimics tandoor heat for authentic texture |
| Cooking Time | 2-3 minutes per side | Ensures even cooking and golden color |
| Flavor Enhancement | Brushing with butter or ghee post-baking | Adds richness and a glossy finish |
For more tips on perfecting your naan, check out our detailed recipe guide. With these techniques, you’ll be creating delicious, authentic-tasting naan in no time!
Conclusion
Reflecting on our journey through the world of naan, it’s clear that mastering this bread is a rewarding endeavor. From understanding the traditional ingredients to perfecting the dough and baking techniques, each step contributes to creating an authentic and delicious experience.
Making naan at home is both accessible and rewarding. With the right guidance, even small adjustments—like the correct use of butter or ghee—can significantly enhance the flavor. Experimentation with variations, such as different toppings or methods, allows you to personalize your naan based on your taste preferences.
I invite you to try out these techniques and share your experiences, making the cooking journey a community affair. Thank you for joining me on this culinary exploration. Happy baking, and I encourage you to continue your culinary adventures with enthusiasm!
FAQ
What are the essential ingredients for making naan bread?
The key ingredients include purpose flour, yeast, salt, yogurt, water, and a bit of oil or ghee for brushing. These components help create the perfect balance of flavor and texture.
Can I make naan without a tandoor?
Absolutely! While traditional naan is baked in a tandoor, you can achieve similar results at home using a regular oven or even a skillet on the stovetop. The key is to replicate the high heat needed for baking.
How long does it take to knead the dough?
Kneading the dough typically takes about 8-10 minutes until it becomes smooth and elastic. This step is crucial for developing the gluten, which gives naan its signature texture.
Can I use milk instead of yogurt in the recipe?
Yes, you can substitute yogurt with milk, but keep in mind that yogurt adds a tangy flavor and tenderness to the dough. For the best results, stick to the original recipe if possible.
Why does my naan sometimes have bubbles?
Bubbles on the surface of naan are normal and occur due to the action of the yeast during fermentation. They add to the texture and lightness of the bread, so they’re a good sign!
How do I store leftover naan?
To keep naan fresh, store it in an airtight container at room temperature for up to 2 days. For longer storage, you can place it in the fridge for up to a week or freeze it for up to a month.
Can I make naan ahead of time?
Yes, you can prepare the dough and let it rest in the fridge for up to 24 hours. This allows the flavors to develop further, resulting in a more delicious naan when baked.
What’s the best way to reheat naan?
Reheat naan by wrapping it in a damp cloth and warming it in the oven or microwave for a few seconds. Brushing it with a little butter or ghee will restore its freshness and flavor.
Can I customize the flavor of naan?
Absolutely! You can add herbs, spices, or even a sprinkle of cheese to the dough for a unique twist. Experiment with different combinations to match your favorite dishes or personal taste.
Why is my dough too sticky?
If the dough feels too sticky, add a little more flour gradually until it becomes smooth and manageable. Make sure not to overdo it, as too much flour can make the naan dense.
Can I use a pizza stone for baking naan?
Yes, a pizza stone is a great alternative for baking naan at home. Preheat the stone in the oven before placing the naan on it for an evenly baked result.
There are no reviews yet. Be the first one to write one.

