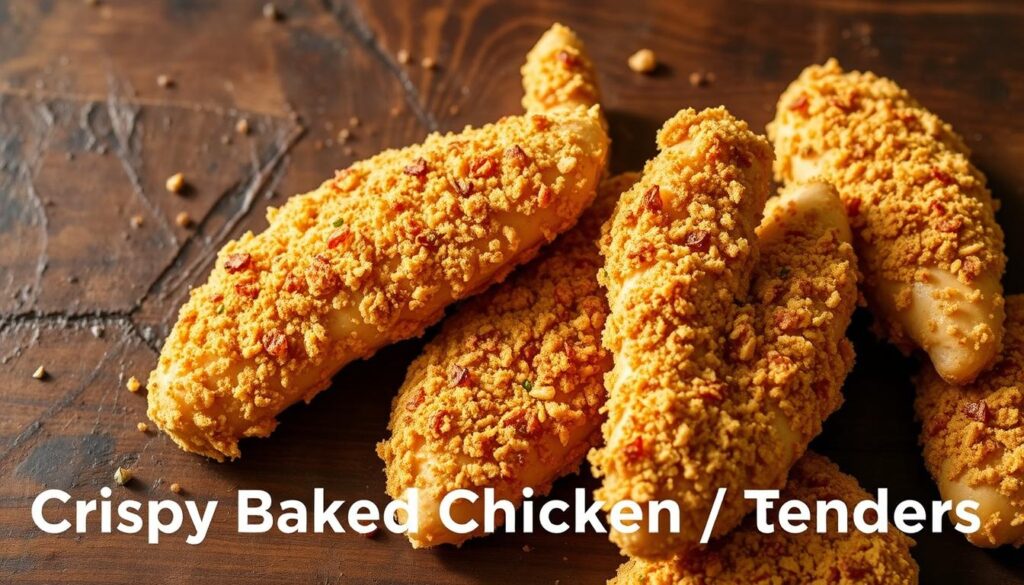
There’s something incredibly satisfying about creating a meal that’s both delicious and wholesome. For me, it’s all about finding that perfect balance between flavor and health. That’s why I’m excited to share my go-to recipe for baked chicken tenders—a dish that’s become a staple in my kitchen.
Thank you for reading this post, don't forget to subscribe!If you’re someone who loves the crunch of fried food but wants a healthier alternative, this recipe is for you. By using an innovative oven technique, you can achieve that satisfying crispiness without the guilt. Plus, it’s surprisingly easy to make, even for beginners.

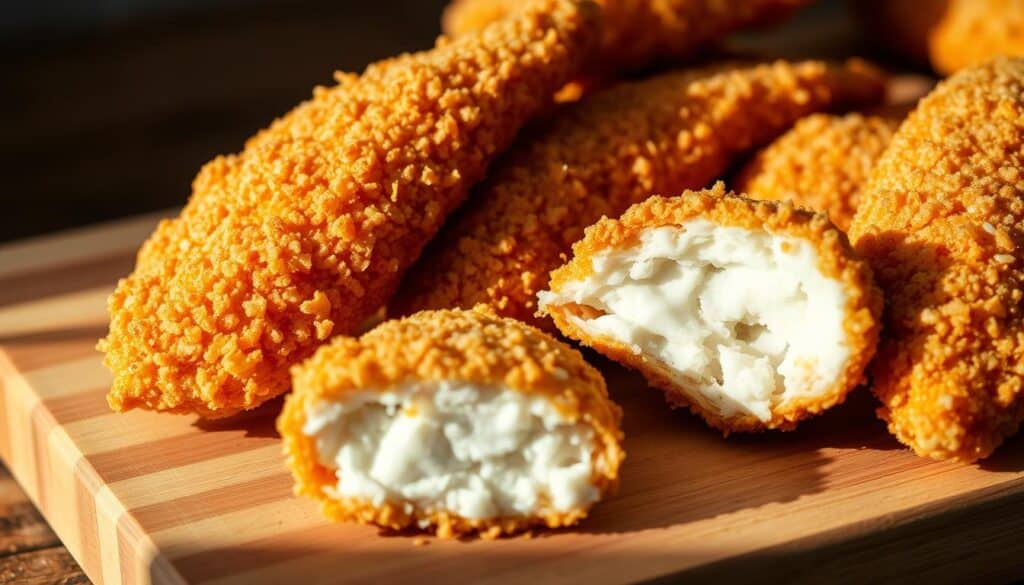
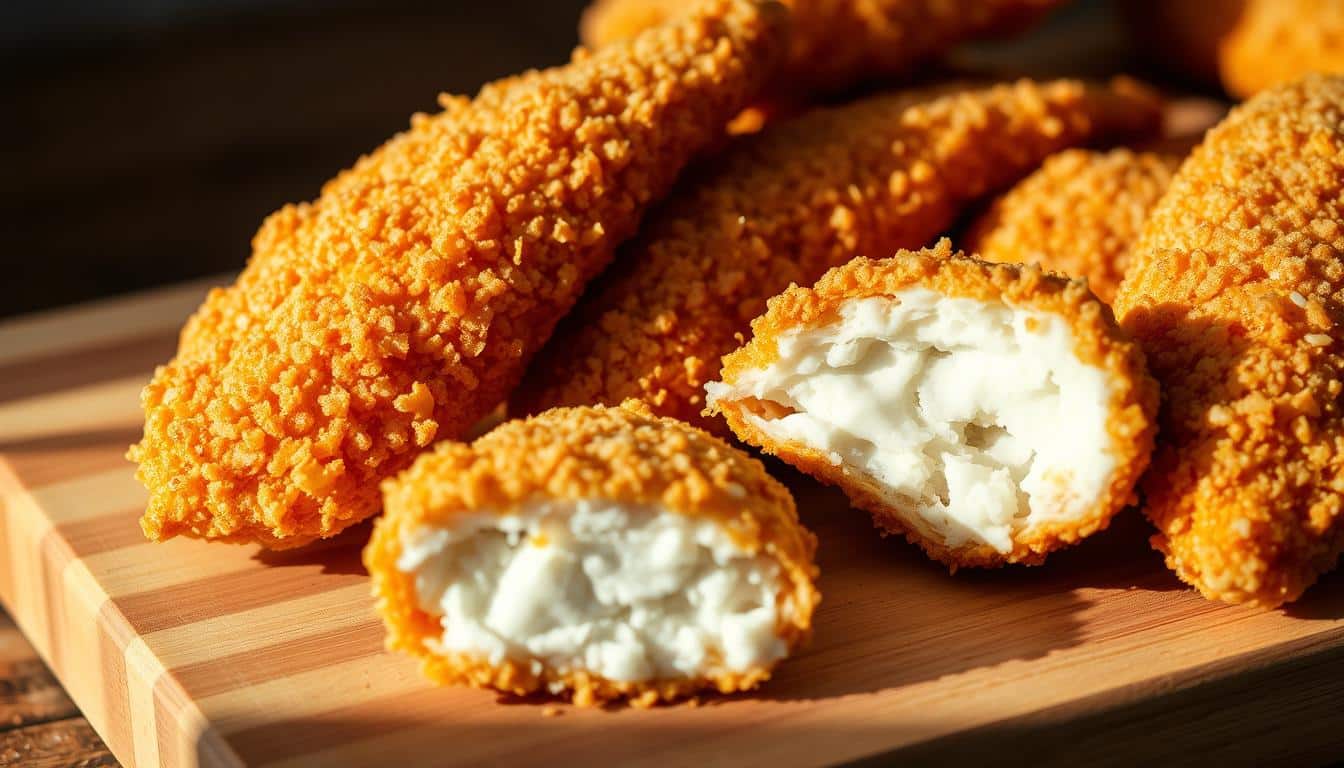
What I love most about this dish is how it keeps the juiciness of the chicken while delivering a firm, crunchy exterior. It’s a crowd-pleaser that’s perfect for family dinners, game nights, or even meal prep. And the best part? You’ll need just a handful of ingredients and a little bit of time to create something truly special.
Key Takeaways
- This recipe offers a healthier alternative to fried chicken tenders.
- The oven technique ensures a crispy texture without deep frying.
- The chicken remains juicy and flavorful throughout the cooking process.
- It’s an easy-to-follow recipe, ideal for both beginners and experienced cooks.
- Perfect for family dinners, gatherings, or meal prep.
Introduction: My Journey with Chicken Tenders
My love for chicken tenders started with a quest for a healthier yet flavorful dish. I’ve always enjoyed the crunch and juiciness of this classic, but I wanted to find a way to make it better for everyday meals. That’s when I began experimenting with different methods and ingredients.
At first, I tried frying them, but the results were inconsistent. Some batches turned out greasy, while others lacked the crunch I craved. That’s when I decided to try baking them in the oven. It was a revelation! The oven method gave me the texture I wanted without the extra oil.
One of the key moments in my journey was discovering panko. Its light, airy texture created the perfect crunch. I also learned that a simple mix of egg and a pinch of salt made the coating stick better, resulting in a more even finish. These small tweaks elevated the dish to a whole new level.
Now, this recipe has become a staple in my kitchen. It’s quick, easy, and always a hit with family and friends. I’m excited to share it with you, hoping it inspires you to try a healthier yet equally delicious alternative to the classic fried version.
Understanding Chicken Tenders and Their Versatility
When it comes to versatile cuts of meat, few can match the simplicity and flavor of chicken tenders. These tender strips, found beneath the chicken breast, are naturally juicy and perfect for quick meals. Their tenderness comes from the lack of connective tissue, making them a favorite for both kids and adults.
What makes chicken tenders special is how easily they adapt to different cooking methods. A quick seasoning with a pinch of salt and a drizzle of oil can elevate their flavor in just a minute. Baking them at the right temperature ensures they stay moist while developing a satisfying crunch.
Why Chicken Tenders Stand Out
One of the secrets to perfect chicken tenders is using a rack during baking. This allows heat to circulate evenly, ensuring every piece cooks uniformly. Without a rack, the bottom can become soggy, losing that desirable texture.
Chicken breast is often used to make tenders, but the natural strips are even more tender. They’re lean, protein-rich, and cook faster than other cuts. This makes them ideal for busy weeknights or meal prep.
Here’s a quick comparison of chicken tenders to other cuts:
| Cut | Texture | Cooking Time |
|---|---|---|
| Chicken Tenders | Juicy and tender | 12-15 minutes |
| Chicken Breast | Firm and lean | 20-25 minutes |
| Chicken Thighs | Rich and moist | 25-30 minutes |
Whether you’re pairing them with a tangy sauce or adding them to a salad, chicken tenders are a versatile ingredient that never disappoints. Their unique texture and quick cooking time make them a staple in my kitchen.
Crispy Baked Chicken Tenders: Secrets to a Crunchy Finish
Achieving the perfect crunch in your meal doesn’t have to involve deep frying. The secret lies in the right mix of ingredients and techniques. I’ve found that using a precise cup-measure of breadcrumbs and seasoning is essential for that golden, crispy finish.
One of my favorite tricks is toasting the breadcrumbs before coating the breast strips. This step adds an extra layer of crunch and depth to the flavor. I also recommend mixing in a bit of parmesan for richness and texture.

Another key factor is the seasoning. A pinch of pepper and a blend of spices can transform the coating into something truly special. Each ingredient plays a role in creating that perfect balance of flavor and texture.
Here’s a quick breakdown of my process:
- Toast the breadcrumbs for added crispiness.
- Mix in parmesan and spices for flavor.
- Use a precise cup-measure to ensure even coating.
- Bake at 400°F for a golden, crunchy finish.
By following these instructions, you’ll achieve a crunchy coating that’s both satisfying and healthier than traditional frying. It’s a simple yet effective way to elevate your meal.
Essential Ingredients and Their Roles in Flavor
The foundation of any great dish lies in its ingredients, and this recipe is no exception. Each component plays a vital role in creating the perfect balance of flavor and texture. From the crunch of panko to the richness of parmesan, every detail matters.
The Magic of Panko and Parmesan
Panko breadcrumbs are the secret to achieving that irresistible crunch. Unlike regular breadcrumbs, panko is lighter and airier, creating a crispier coating. I always toast them lightly before use to enhance their texture and flavor.
Parmesan cheese adds a salty, savory note while helping the breading stick better. It’s a small addition that makes a big difference. Together, panko and parmesan create a coating that’s both flavorful and sturdy.
Key Marinade and Seasoning Tips
Marinating the strips ensures they stay tender and juicy. I like to use a simple mix of buttermilk, garlic powder, and a pinch of salt. This not only adds flavor but also helps the breading adhere better.
Seasoning is equally important. A blend of smoked paprika, onion powder, and cayenne pepper adds depth and warmth. Don’t forget to season the flour and breadcrumbs for an even distribution of flavor.
Using a baking sheet and wire rack is crucial for even cooking. The rack allows heat to circulate, preventing the bottom from becoming soggy. This setup ensures every strip comes out perfectly cooked.
Finally, don’t forget the dipping sauce. A tangy honey mustard or creamy ranch can elevate the dish, adding a burst of flavor with every bite. Experiment with different sauces to find your favorite pairing.
Step-by-Step Instructions for a Crunchy Coating
Mastering the art of a crunchy coating is easier than you think. With a few simple steps, you can create a golden, flavorful finish that’s both satisfying and healthier than frying. Let’s break it down.
Preparing Your Chicken
Start by letting your chicken come to room temperature. This ensures even cooking. Pat the strips dry with a paper towel to help the coating stick better. Season generously with a mix of garlic powder, smoked paprika, and a pinch of salt. This step builds the foundation for flavor.
Breading the Tenders
Set up a breading station with three bowls: one for flour, one for beaten egg, and one for toasted panko mixed with parmesan. Dip each strip into the flour first, shaking off excess. Next, coat it in the egg mixture, and finally, press it into the panko blend. This triple-dip method ensures a thick, even coating.
Baking to Perfection
Preheat your oven to 425°F. Place the coated strips on a wire rack over a baking sheet to allow heat to circulate evenly. Bake for 15-20 minutes, or until the internal temperature reaches 165°F. The result? A golden, crunchy exterior with juicy, tender meat inside.
Here are a few tips to keep in mind:
- Toast the panko for extra crunch.
- Use a wire rack to prevent sogginess.
- Don’t overcrowd the baking sheet for even cooking.
With these steps, you’ll achieve a coating that’s crispy, flavorful, and perfect for any occasion. Enjoy!
Baking vs. Frying: Why I Choose the Oven
When it comes to cooking methods, the oven has become my go-to for healthier, mess-free meals. While frying can deliver a satisfying crunch, baking offers a cleaner, more consistent alternative. Let me explain why I prefer the oven and how it can elevate your cooking experience.
One of the biggest advantages of baking is its health benefits. A 3-ounce serving of fried food contains 12 grams of fat, while the baked version has only 3 grams. That’s a 75% reduction! Plus, baking preserves essential nutrients like niacin and vitamin B6, which support metabolism and immune health.
Cleanup is another reason I choose the oven. Frying requires a lot of oil, which can splatter and create a greasy mess. Baking, on the other hand, uses a simple sheet and wire rack setup. This not only keeps your kitchen cleaner but also ensures even cooking by allowing heat to circulate around the food.
Here’s a quick comparison of baking vs. frying:
| Method | Fat Content | Cleanup | Consistency |
|---|---|---|---|
| Baking | 3g per serving | Easy | Even and reliable |
| Frying | 12g per serving | Messy | Can be uneven |
Another key factor is the crumb mixture. Toasting the crumbs before coating ensures a golden, crunchy finish. I also mix in parmesan for added flavor and texture. This simple step makes a big difference in the final result.
Finally, baking allows for more creativity. You can easily add herbs, spices, or even vegetables to your dish. This flexibility makes it a versatile option for any meal. So, if you’re looking for a healthier, cleaner, and more consistent cooking method, give the oven a try. You might just be surprised by the results!
In-Depth on Seasoning, Marinades, and Breading Techniques
The secret to a flavorful dish often lies in the details of seasoning and preparation. From the right blend of spices to the perfect breading, every step matters. Let’s explore how to elevate your meal with these essential techniques.
Selecting the Right Spices
Spices are the backbone of any great recipe. I always start with a base of garlic powder and smoked paprika. These two add depth and warmth to the flavor profile. A pinch of cayenne pepper brings a subtle kick, while onion powder adds a savory note.
Here’s my go-to seasoning blend:
- 1.5 tbsp garlic powder
- 1.5 tbsp smoked paprika
- 1 tbsp onion powder
- ½ tsp cayenne pepper
This mix ensures every bite is packed with flavor. Don’t forget to season the flour and breadcrumbs for an even distribution.
Homemade vs. Store-bought Breadcrumbs
When it comes to breading, the choice between homemade and store-bought breadcrumbs can make a big difference. Homemade breadcrumbs allow you to control the texture and flavor. I often toast stale bread, grind it, and mix in parmesan for extra richness.
Store-bought options are convenient and consistent. Panko, for example, is lighter and crispier than regular breadcrumbs. Here’s a quick comparison:
| Type | Texture | Flavor |
|---|---|---|
| Homemade | Coarser | Customizable |
| Store-bought | Finer | Consistent |
Both options work well, but I prefer homemade for its versatility. It’s a small step that adds a personal touch to the dish.
Pairing with the Perfect Dip
No meal is complete without a great dip. My personal favorite is a homemade honey mustard sauce. It’s tangy, sweet, and pairs perfectly with the savory flavors of the dish. Here’s how I make it:
- 3 tbsp Dijon mustard
- 2 tbsp honey
- 1 tbsp mayonnaise
- A squeeze of lemon juice
Mix these ingredients, and you’ve got a dip that elevates every bite. Experiment with different sauces to find your favorite pairing.
By focusing on seasoning, breading, and pairing, you can create a meal that’s both delicious and memorable. These techniques are simple but make a world of difference.
Serving Suggestions, Sauces, and Creative Pairings
The way you serve a dish can transform it from ordinary to extraordinary. Whether you’re hosting a gathering or preparing a quick snack, presentation matters. I’ve found that pairing the right sauce with your meal can elevate the entire experience.
My Favorite Dipping Sauces
Dipping sauces are the perfect complement to any meal. My go-to is a homemade honey mustard—it’s tangy, sweet, and incredibly easy to make. Simply mix Dijon mustard, honey, and a splash of lemon juice. For a creamy option, ranch dressing is always a crowd-pleaser.
If you’re feeling adventurous, try a spicy sriracha mayo or a zesty Thai vinegar-chile sauce. These options add a bold flavor that pairs wonderfully with the savory notes of the dish. For more inspiration, check out these six delicious dipping sauces.
Creative Serving Ideas
This tender recipe is incredibly versatile. Serve it as a main course with roasted vegetables or as a snack with fries. You can also add it to wraps or salads for a quick, satisfying meal. The possibilities are endless!
For a fun twist, try serving it alongside a variety of sauces for dipping. This not only adds variety but also lets everyone customize their meal. Pair it with a fresh salad or roasted potatoes for a complete dining experience. For more ideas, explore this delicious braised chicken recipe.
Tips for Optimal Results
To ensure your dish stays crispy, always preheat oven to the recommended temperature. Using a light spray of oil on the baking sheet helps achieve a golden finish. This small step makes a big difference in the final texture.
Here’s a quick guide to serving and pairing:
| Serving Style | Pairing |
|---|---|
| Main Course | Roasted vegetables, mashed potatoes |
| Snack | Fries, coleslaw |
| Salad Topping | Mixed greens, cherry tomatoes |
By experimenting with different sauces and serving styles, you can make every meal unique. The key is to have fun and let your creativity shine!
Storing, Reheating, and Making Ahead Tips
Keeping your meal fresh and flavorful is just as important as making it. Whether you’re planning for leftovers or prepping for a busy week, these tips will help you maintain that perfect texture and taste.
Proper Storage Methods
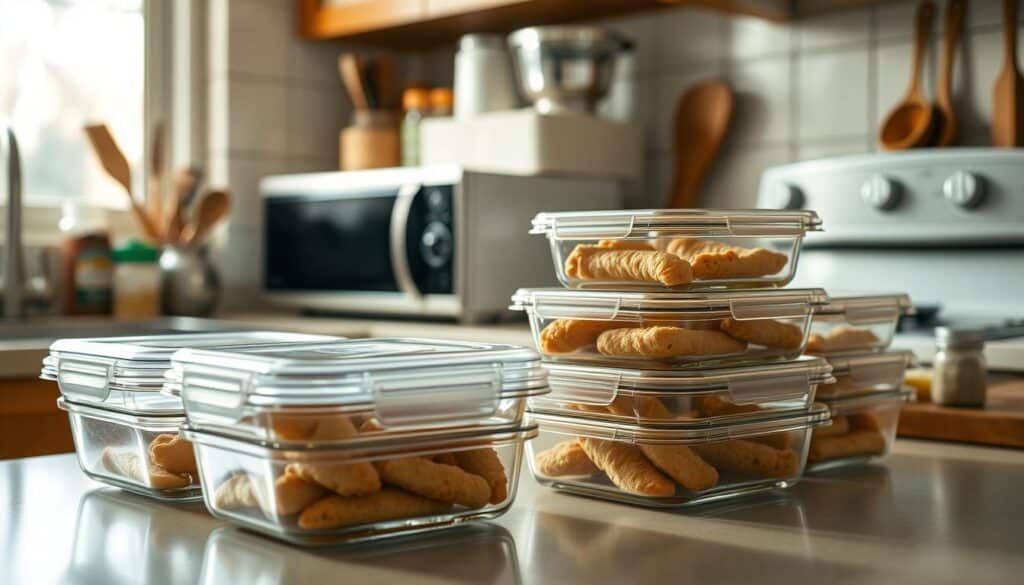
To keep your dish at its best, store it in an airtight container. This prevents moisture from making the coating soggy. I always let it cool on a wire rack before storing to ensure even airflow. This small note can make a big difference.
For longer storage, freezing is a great option. Place the pieces in a single layer on a baking sheet, freeze until solid, and then transfer to a freezer-safe bag. This method prevents them from sticking together and makes reheating easier.

Quick Reheat in an Air Fryer
When it’s time to enjoy your leftovers, the air fryer is my go-to tool. It reheats the dish quickly while restoring that satisfying crunch. Preheat the air fryer to 375°F and cook for 5-7 minutes. This tip ensures the inside stays juicy while the outside gets crispy.
If you’re reheating from frozen, add a few extra minutes. The result is just as good as freshly made. This method is a top choice for busy days when you need a quick meal.
Making Ahead Tips
Planning ahead can save time without sacrificing flavor. You can bread the pieces and store them in the fridge for up to 24 hours before cooking. This note is perfect for meal prep or when you’re hosting guests.
Another tip is to prepare the seasoning and breading mix in advance. Store them in separate containers, and you’ll have everything ready to go when it’s time to cook. These small steps make the process smoother and more efficient.
By following these tips, you can enjoy your meal fresh and flavorful every time. Whether you’re storing, reheating, or prepping ahead, these methods ensure the best results.
Conclusion
Creating a meal that’s both healthy and delicious has always been my goal, and this recipe perfectly achieves that balance. By using the oven instead of a pan, you can enjoy a crispy baked texture without the extra oil. Each step, from selecting the right ingredients to mastering the breading technique, ensures a flavorful and satisfying result.
What I love most about this method is how simple and versatile it is. Whether you’re serving it as a main dish or a snack, it’s a crowd-pleaser. Don’t forget to pair it with your favorite dipping sauce—ranch is always a hit!
I encourage you to try this recipe and make it your own. Experiment with different seasonings or sauces to suit your taste. Share your experiences and modifications—I’d love to hear how it turns out for you!
FAQ
What makes panko breadcrumbs better for this recipe?
Panko creates a lighter, crunchier coating compared to regular breadcrumbs. It’s my go-to for achieving that perfect texture in the oven.
Can I use chicken breast instead of tenders?
Absolutely! Just slice the breast into strips. It’s an easy swap that works just as well.
How do I keep the breading from falling off?
Pat the strips dry before dipping, and press the crumbs firmly onto the egg-coated pieces. A wire rack during baking also helps.
What’s the best way to season the tenders?
I love a mix of garlic powder, salt, and pepper. For extra flavor, try adding smoked paprika or Italian seasoning.
Can I make these ahead of time?
Yes! Prep and bread them, then store in the fridge for up to a day. Bake when ready to serve.
What dipping sauces pair well with these?
I’m a fan of honey mustard and ranch, but BBQ or a spicy aioli also work great for dipping.
Can I freeze the leftovers?
Definitely! Store them in an airtight container. Reheat in the oven or air fryer for the best results.
Why bake instead of fry?
Baking is healthier and still delivers a crispy finish. Plus, it’s less messy and easier to manage.
There are no reviews yet. Be the first one to write one.

