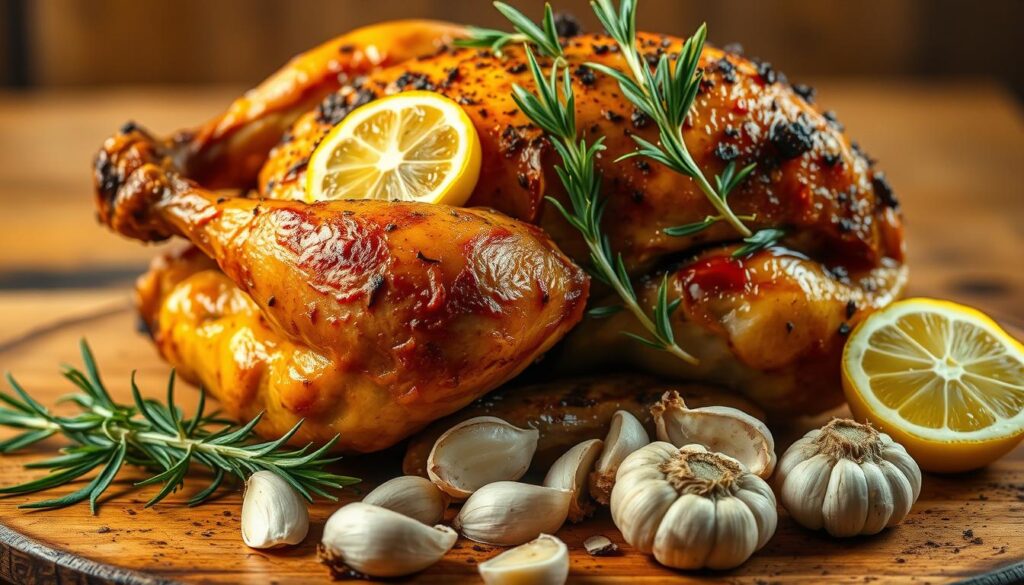
There’s something magical about a dish that fills your home with an irresistible aroma. For me, that dish is a perfectly seasoned Lemon Garlic Roasted Chicken. It’s a meal that feels both comforting and celebratory, bringing people together around the table.
Thank you for reading this post, don't forget to subscribe!What makes this recipe special is its simplicity. With just a few key ingredients, like a whole chicken, fresh lemon, and a clove of garlic, you can create something truly extraordinary. The balance of flavors is what sets it apart—tangy, savory, and rich all at once.

Preheating the oven is the first step to ensuring that crispy skin and juicy meat we all crave. A 3-4 lb. bird is ideal for this method, allowing the flavors to meld beautifully. Trust me, the result is worth every minute.
I’m excited to share this tried-and-true recipe with you. Whether you’re cooking for a special occasion or just a cozy night in, this dish is sure to impress. Let’s get started!
Key Takeaways
- This recipe combines simple ingredients for a flavorful meal.
- Using a whole chicken ensures crispy skin and juicy meat.
- Preheating the oven is essential for perfect results.
- A 3-4 lb. bird is ideal for this method.
- The dish is perfect for both special occasions and everyday dinners.
Introduction and Recipe Overview
Few dishes bring as much comfort and joy as a perfectly roasted bird. This chicken recipe is a testament to how simple ingredients can create something extraordinary. I’ve always loved how this dish fills my kitchen with an irresistible aroma, making it a go-to for both weeknight dinners and special occasions.
What makes this recipe stand out is its streamlined process. From prepping the bird to setting up the oven, every step is designed to be approachable. The result? Crispy skin and juicy meat that’s sure to impress. Whether you’re cooking for family or friends, this dish never fails to delight.
- Preheat the oven to 400°F for optimal cooking.
- Use a 3-4 lb. bird to ensure even roasting.
- Baste the chicken at least three times for maximum flavor.
- Let it rest for 10 minutes before serving.
This recipe is versatile enough for a quick dinner yet elegant enough for a celebration. Pair it with a fresh salad or your favorite sides for a complete meal. If you’re looking for more tips on achieving crispy skin, check out this guide.
| Step | Time | Temperature |
|---|---|---|
| Preheat Oven | 10 minutes | 400°F |
| Roast Chicken | 1 hour 10 minutes | 400°F |
| Rest Chicken | 10 minutes | Room Temp |
I’m excited for you to try this recipe. It’s a reliable way to create a wholesome, flavorful dish that everyone will love. Stay tuned for the detailed steps in the next section!
Essential Ingredients and Equipment
The secret to a mouthwatering dish lies in the quality of its ingredients and the tools you use. For this recipe, every component plays a vital role in creating a flavorful and satisfying meal. Let’s dive into what you’ll need to get started.
Ingredient Highlights
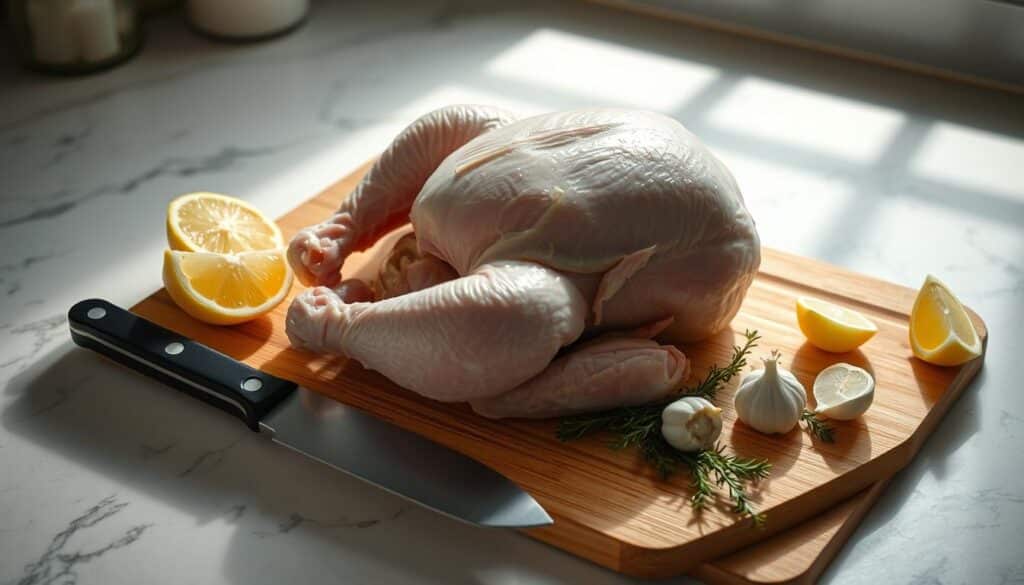
A whole chicken is the star of this dish. Opt for a 3-4 lb. bird to ensure even cooking and juicy meat. Unsalted butter adds richness and helps crisp the skin, while a pinch of salt enhances the overall flavor. Fresh herbs and aromatics like garlic and lemon bring brightness and depth.
Each ingredient contributes to the final result. For example, drying the chicken with a paper towel before seasoning ensures the skin crisps up beautifully. Quality matters, so choose fresh, high-quality components for the best outcome.
Kitchen Tools and Equipment
Having the right tools makes the process smoother and more enjoyable. A sturdy roasting pan is essential for even cooking and easy cleanup. A sharp knife and cutting board make prep work a breeze, while an oven-safe skillet can be a great alternative if you don’t have a roasting pan.
Here’s a quick overview of the must-have equipment:
| Tool | Purpose |
|---|---|
| Roasting Pan | Ensures even cooking and easy basting. |
| Cutting Board | Provides a stable surface for prep work. |
| Sharp Knife | Makes trimming and slicing effortless. |
| Paper Towel | Dries the chicken for crispy skin. |
With these ingredients and tools, you’re well on your way to creating a dish that’s both delicious and impressive. For more tips on cooking chicken, check out this chicken in tomato sauce recipe.
Prepping the Chicken for Roasting
Taking the time to prep your chicken correctly makes all the difference in the final dish. Proper preparation ensures crispy skin and juicy meat, two hallmarks of a perfect roast. Let’s dive into the essential steps to get your chicken ready for the oven.

Drying, Cleaning, and Trimming
Start by rinsing the chicken under cold water and patting it dry with a paper towel. Removing excess moisture is key to achieving that crispy finish. Next, trim any excess fat around the breast and thighs. This step not only improves the texture but also helps the seasoning penetrate the meat better.
For even cooking, position the chicken properly. Tuck the wings under the body and tie the legs together with kitchen twine. This ensures the bird cooks evenly and retains its shape. Don’t forget to make a small incision near the leg joint. This allows heat to reach the bone, ensuring the meat cooks thoroughly.
Spending a little extra time in prep pays off. A well-prepped chicken, especially one of the ideal size (3-4 lbs.), cooks more evenly and stays juicy. Plus, it makes carving easier later on. With these steps, you’re setting the stage for a flavorful and satisfying meal.
Seasoning with Lemon, Garlic, and Herbs
The right seasoning can transform a simple dish into a culinary masterpiece. For this recipe, the marinade is where the magic happens. It’s all about blending bright, tangy, and savory flavors to create a harmonious taste.
Marinade and Spice Mix Techniques
Start by whisking together fresh lemon juice, olive oil, and minced garlic. This base adds a zesty kick and helps the marinade penetrate the meat. Fresh herbs like rosemary and thyme bring an earthy aroma, while a pinch of salt and pepper enhances the overall flavor.
Seasoning both inside and outside the chicken is crucial. I like to gently lift the skin and rub the marinade directly onto the meat. This ensures every bite is packed with flavor. Don’t forget the cavity—stuffing it with lemon slices and garlic cloves infuses the bird from the inside out.
Quality ingredients make all the difference. Fresh herbs and high-quality olive oil elevate the dish, while generous amounts of salt and pepper balance the flavors. For more tips on creating a flavorful marinade, check out this guide.
Here’s a quick breakdown of the process:
- Whisk lemon juice, olive oil, and garlic in a bowl.
- Add fresh herbs and season with salt and pepper.
- Apply the marinade under the skin and inside the cavity.
- Let the chicken rest for at least 30 minutes to absorb the flavors.
Trust the process and enjoy the aroma filling your kitchen. This step is where the dish truly comes to life, setting the stage for a meal that’s both memorable and delicious.
Perfecting the Roasting Process
Mastering the roasting process is the key to achieving a dish that’s both flavorful and perfectly cooked. It’s all about precision—from setting the right temperature to timing each step carefully. Let’s break down the essentials to ensure your meal turns out just right.
Temperature Guidelines and Oven Setup
Preheating your oven is the first step to success. I recommend setting it to 450ºF for optimal results. This high heat helps achieve that crispy exterior we all love. Make sure the rack is positioned in the middle of the oven for even heat distribution.
Using a meat thermometer is crucial. It ensures the internal temperature reaches 165ºF, the safe point for doneness. This small tool takes the guesswork out of roasting and guarantees juicy meat every time.
Timing, Basting, and Adjustments
Timing is everything. For a 4-5 lb. bird, plan for about 1 hour of cooking time. Baste the meat every 15-20 minutes to keep it moist and flavorful. If the skin browns too quickly, tent it with foil to prevent burning.
Here’s a quick guide to help you stay on track:
| Step | Time | Temperature |
|---|---|---|
| Preheat Oven | 10 minutes | 450ºF |
| Roast | 1 hour | 450ºF |
| Check Internal Temp | Every 5 minutes | 165ºF |
By following these steps, you’ll create a dish that’s crispy on the outside and tender on the inside. Trust the process, and enjoy the delicious results!
Lemon Garlic Roasted Chicken Recipe: Step-by-Step Instructions
Cooking a flavorful dish doesn’t have to be complicated—this step-by-step guide makes it easy. Whether you’re a beginner or a seasoned cook, these instructions will help you create a meal that’s both delicious and impressive. Let’s dive into the process.
Detailed Cooking Procedure
Start by preheating your oven to 450ºF. This high heat ensures a crispy exterior while keeping the meat juicy. While the oven heats, prepare your whole chicken by patting it dry with a paper towel. This step is crucial for achieving that perfect, golden skin.
Next, season the bird generously. Mix softened butter with olive oil, lemon juice, and minced garlic. Rub this mixture under the skin and inside the cavity. Add lemon slices and garlic cloves to the cavity for extra flavor. This ensures every bite is packed with zesty, savory goodness.

Place the chicken in a roasting pan, breast side up. Arrange additional lemon slices and garlic around the bird. Roast for about 1 hour, basting every 15-20 minutes with the pan juices. This keeps the meat moist and flavorful.
Use a meat thermometer to check for doneness. The internal temperature should reach 165ºF. If the skin browns too quickly, tent it with foil. Once done, let the chicken rest for at least 10 minutes before carving. This allows the juices to redistribute, ensuring tender, juicy meat.
Visual Aids and Video Guidance
For added clarity, I recommend watching a video guide that walks you through each step. Visual cues can make the process even easier, especially if you’re new to roasting. Pay attention to how the chicken is arranged in the pan and how the juices are basted.
Here’s a quick summary of the key steps:
- Preheat the oven to 450ºF.
- Season the chicken inside and out.
- Roast for 1 hour, basting every 15-20 minutes.
- Check the internal temperature with a thermometer.
- Let the chicken rest before carving.
By following these steps, you’ll create a dish that’s crispy on the outside and tender on the inside. Enjoy the process and the delicious results!
Achieving Crispy Skin and Juicy Meat
Getting the perfect balance of crispy skin and juicy meat is easier than you think. It all starts with proper preparation. Drying the bird thoroughly before seasoning is the first step. Moisture is the enemy of crispiness, so pat it down with a paper towel for the best results.
Basting is another game-changer. Use a mix of melted butter and pan juice to keep the meat moist while enhancing the flavor. I like to baste every 15-20 minutes, ensuring the skin stays golden and crispy. This technique locks in moisture and adds richness to every bite.
Seasoning plays a crucial role too. A blend of garlic, pepper, and herbs creates a flavorful crust that complements the tender meat. I recommend rubbing the seasoning under the skin for maximum impact. This ensures every slice is packed with flavor.
Oven temperature is key. Start at 450°F to crisp the skin, then reduce to 375°F to cook the meat evenly. Use a meat thermometer to check for doneness—165°F is the magic number. Let the bird rest for at least 10 minutes before carving. This allows the juices to redistribute, keeping the meat tender.
Finally, pay attention to the pan juices. They’re a treasure trove of flavor. Drizzle them over the carved meat for an extra burst of richness. With these tips, you’ll achieve restaurant-quality results right at home.
Delicious Serving Suggestions and Side Dishes
Pairing the right sides with your main dish can elevate the entire meal. The crispy skin and tender breast of the chicken deserve accompaniments that enhance their flavors. Whether you’re serving a casual dinner or a special occasion, the right sides make all the difference.
Classic and Creative Sides
For a traditional approach, you can’t go wrong with garlic herb mashed potatoes or sautéed green beans. These timeless options complement the richness of the chicken without overpowering it. A fresh salad with a tangy vinaigrette adds a refreshing contrast to the meal.
If you’re feeling adventurous, try roasted vegetables or veggie tots. These creative twists bring color and texture to the plate. A squeeze of lemon or a drizzle of pan juices can elevate even the simplest side dishes.
Here are a few ideas to inspire your next meal:
- Garlic herb mashed potatoes
- Roasted asparagus with a hint of lemon
- Fresh garden salad with a zesty dressing
- Honey-glazed carrots for a touch of sweetness
When carving the chicken, expose the bone for a rustic presentation. Slice the breast evenly for a visually appealing plate. Remember, sides are more than just extras—they complete the dining experience.
Experiment with different combinations to find your favorites. A well-chosen side dish can turn a simple serve roast into a memorable feast. Enjoy the process and savor every bite!
Meal Prep, Storage, and Leftover Ideas
Leftovers don’t have to be boring—they can be just as delicious as the original meal. With a little planning and creativity, you can turn your roasted bird into a variety of tasty dishes. Here’s how to store, reheat, and repurpose your leftovers like a pro.
Storing Leftovers Safely
Proper storage is the first step to keeping your meal fresh. Once cooled, place the meat in an airtight container. It will stay good in the fridge for up to four days. For longer storage, wrap it tightly in foil or plastic wrap and freeze it for up to three months.
Reheating Techniques
To keep the meat moist, reheat it gently. Preheat your oven to 300ºF, cover the chicken with foil, and warm it for about 10-15 minutes. Alternatively, use a pan on low heat with a splash of olive oil. For a quick fix, the microwave works too—just cover the dish to trap steam.
Creative Recipe Adaptations
Leftovers are perfect for meal prep. Shred the meat for wraps, toss it into salads, or add it to soups. Here are a few ideas to inspire you:
- Chicken and avocado wraps with a squeeze of lemon.
- Hearty chicken noodle soup with fresh herbs.
- Grain bowls with roasted veggies and a tangy dressing.
Planning Ahead
Making extra during your initial cook saves time later. Use a roasting pan to prepare a larger batch, and portion it out for future meals. Every minute spent planning ensures you have a delicious meal ready to go.
With these tips, you’ll never waste a bite. Leftovers can be just as exciting as the first serving—it’s all about how you handle them!
Conclusion
Creating a memorable dinner at home is easier than you think. This recipe combines simple steps with bold flavors, making it perfect for any occasion. From prepping the whole chicken to mastering the right temperature, every detail matters for a delicious result.
I hope this guide inspires you to try this dish. The combination of zesty and savory flavors transforms the meat into something truly special. Don’t forget to let it rest—this step ensures juicy, tender bites every time.
Thank you for joining me on this culinary journey. I encourage you to experiment and make this recipe your own. Share your results and enjoy the process of creating a meal that’s both simple and satisfying. Happy cooking!
FAQ
What’s the best way to ensure crispy skin when roasting?
I always pat the bird dry with paper towels before seasoning. This removes moisture, helping the skin crisp up beautifully in the oven.
How long should I roast a whole bird for?
Cooking time depends on the size, but I usually roast at 375°F for about 20 minutes per pound. A meat thermometer should read 165°F in the thickest part.
Can I use dried herbs instead of fresh ones?
Absolutely! I often use dried herbs like thyme or rosemary. Just remember, dried herbs are more potent, so I use about half the amount of fresh ones.
What’s the secret to juicy meat?
I baste the bird every 30 minutes with its own juices or melted butter. This keeps the meat moist and adds extra flavor.
Should I cover the pan with foil while roasting?
I don’t cover it because it traps steam, making the skin soggy. If it browns too quickly, I tent it loosely with foil halfway through.
What sides pair well with this dish?
I love serving it with roasted veggies, mashed potatoes, or a fresh green salad. It’s a versatile main that works with almost anything!
Can I prep this ahead of time?
Yes! I often season the bird the night before and let it marinate in the fridge. This saves time and enhances the flavor.
How do I store leftovers?
I store leftover meat in an airtight container in the fridge for up to 3 days. It’s great for sandwiches, soups, or salads!
There are no reviews yet. Be the first one to write one.

